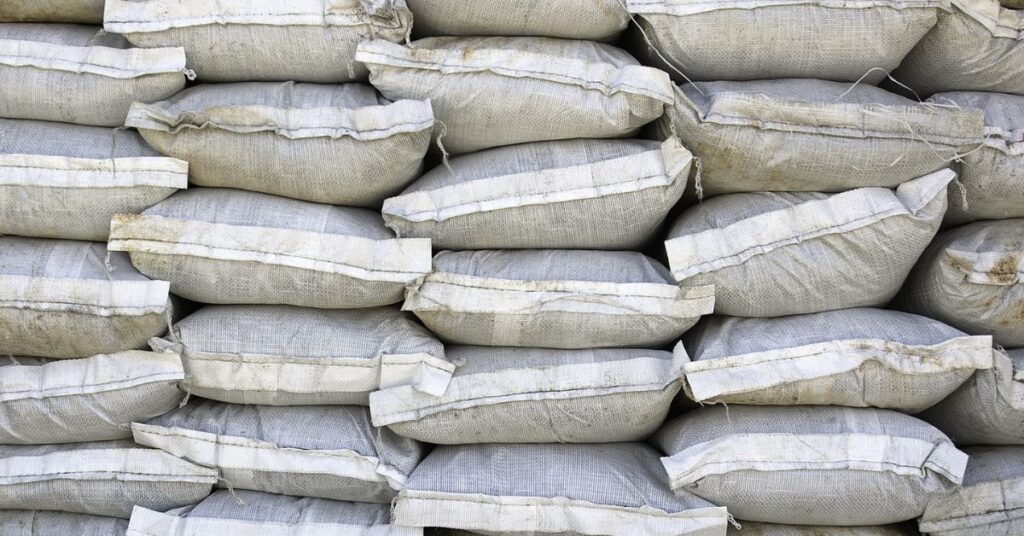
How to Place Sandbags to Prevent Flooding (And What Works Better)
Learn how to place sandbags properly to prevent flood damage — with step-by-step instructions and a smarter alternative for large-scale flood protection.

Flooding can happen fast—and when it does, communities, contractors, and emergency crews often reach for the same tool: the sandbag. These simple, decades-old barriers remain one of the most accessible forms of flood defense.
But while sandbags can help in the short term, they only work if placed properly. They’re also far from ideal for larger or repeated flood events. In this guide, we’ll show you exactly how to place sandbags to prevent flooding, step by step. But we’ll also discuss a smarter alternative for those needing faster, stronger protection at scale.
How to Place Sandbags to Prevent Flooding: Step-by-Step
What You’ll Need
Before you begin, gather your materials:
- Standard 14″ x 26″ sandbags (burlap or polypropylene)
- Clean, dry sand or soil (avoid gravel)
- Shovel or sandbag-filling machine
- Gloves, safety gear, and a water barrier like plastic sheeting (optional)
Step 1: Fill Bags Correctly
- Fill sandbags only halfway to two-thirds full. Overfilled bags won’t stack correctly and are prone to shifting or tearing.
- You can leave bags untied or loosely tied. Untied bags tend to settle more evenly when stacked.
Step 2: Lay the Foundation
- Begin placing sandbags at the lowest point where water is expected to enter.
- Lay the first row flat, with bags slightly overlapping like bricks.
- Stagger the joints in a running bond pattern (like brickwork) to strengthen the wall.
Step 3: Build Up, Not Just Out
- Stack additional layers directly on top of the base row, continuing the overlap pattern.
- As a rule of thumb, a sandbag wall should be 2 to 3 times wider than it is tall.
- Avoid walls taller than three feet without professional engineering—they become unstable under water pressure.
Step 4: Seal and Secure
- Tamp down each layer to eliminate air pockets and improve stability.
- Use plastic sheeting on the water-facing side to help reduce seepage (but do not rely on it for structure).
- Anchor sheeting with additional sandbags at the base.
Step 5: Protect Openings
- Don’t just stack bags in front of doors. Create a U-shape around entry points to redirect water instead of simply blocking it.
- For garages and loading docks, build longer walls that extend past the opening to prevent water from wrapping around.
Common Mistakes That Make Sandbag Walls Fail
Sandbags only work when placed correctly. Here are the most common mistakes people make:
- Overfilling bags so they don’t lay flat or stack well
- Using gravel or debris as fill material, which reduces sealing and stability
- Building single-layer walls with no staggering or base width
- Placing bags directly against doors or structures without adequate side reinforcement
- Deploying too few, too late—many floods overwhelm small, quickly built walls
Even small missteps can compromise the entire system. But keep in mind that sandbags offer only partial protection and are meant to slow or redirect water, not stop it entirely.
The Problem with Sandbags at Scale
While sandbags can help in small-scale or temporary situations, they quickly become impractical in larger emergencies. A single protective wall can require thousands of bags, filled and stacked by hand, often during a time crunch.
Limitations of sandbags:
- Labor-intensive: Requires crews of people and repetitive manual work
- Time-consuming: Slow to fill, transport, and stack
- Limited stability: Bags shift, tear, and allow seepage under pressure
- Wasteful: Often must be disposed of after use due to contamination
- Height limits: Not stable or safe beyond 2–3 feet without reinforcement
For municipalities, industrial facilities, or emergency management teams, the reality is clear: sandbags aren’t enough for wide-scale protection.
A Better Alternative: TrapBag® Cellular Barrier System
TrapBag® offers a smarter, faster, and more secure solution for flood prevention, especially when speed and scale matter. Instead of relying on thousands of loosely stacked bags, TrapBag uses a connected, modular barrier system designed for rapid deployment using heavy equipment.
Each TrapBag unit is made from durable woven polypropylene and shaped to contain 60% of its mass in the lower half. This makes it extremely stable, even under intense water pressure. The barriers are filled with sand, gravel, or other heavy materials (no concrete) and form a continuous, reinforced wall.
What Makes TrapBag Better?
- Faster setup: Deploy up to 8x faster than sandbags with machinery
- Scalable protection: Build miles of barriers with fewer people
- Stronger stability: No tipping, no shifting, and minimal seepage
- Space-saving design: Vertical stacking and tight layout means less space wasted
- Globally proven use: Over 1,000 miles deployed worldwide
TrapBag isn’t just an upgrade — it’s an entirely different class of flood protection, designed for professionals who need reliable solutions under pressure.
When to Use TrapBag Instead of Sandbags
While sandbags might be suitable for single entry points, residential garages, or very short-term water diversion, TrapBag is ideal when you:
- Need to protect large infrastructure, utilities, or levees
- Are dealing with fast-moving or high-volume water
- Need a solution that can be deployed quickly and professionally
- Want barriers that last 5+ years and don’t need to be replaced after one use
- Are preparing for emergency response, disaster readiness, or proactive risk reduction
For most municipal and industrial applications, TrapBag becomes the more practical and cost-effective solution as soon as scale is involved.
Need Help Planning Your Flood Protection System?
We can help! Reach out to the TrapBag team at (239) 674-6611 or request a quote today.
Meet the author
Get the Dirt Before the Flood Hits
Stay ahead of flooding, erosion, and disaster response challenges. The Dirt, TrapBag’s monthly newsletter, delivers field-tested tips, real-world case studies, and the latest in barrier technology straight to your inbox.

