Using TrapBag for an Affordable Seawall Solution
Seawalls are a trusted choice for protecting properties and shorelines from coastal floods and rising ocean levels.
While traditional forms of seawalls are extremely expensive and difficult to install, TrapBag barriers are a reliable, rapidly deployable, and affordable seawall alternative. TrapBag works to protect both the environment and neighboring communities.
Seawall Construction & Development Options with TrapBag
By design, TrapBag is easy to install and can protect shorefront property and structures from damage due to rising sea levels. Each cell in the barrier lends its strength to its neighbors, making it an effective option for keeping out thousands of gallons of water. They’ve even been successfully tested by the US Army Corps of Engineers.
TrapBag is easy to set up and deploy as a seawall in a matter of hours, rather than days, with just a few simple steps:
-
Open the packaging: Your TrapBag barrier comes folded up on a pallet. Pull it out like an accordion and it can be stretched out up to 50 linear feet per unit.
-
Place or stack the barrier where needed: Place the TrapBag barrier where you need it along the shoreline to protect properties from wave action. Once the base rows are filled, you can stack an additional row on top to add more height to your barrier.
-
Fill the cells: A team of two people can quickly fill your TrapBag barriers in a matter of minutes by pumping concrete into the bags.
Who We Serve
TrapBag works with organizations and agencies all over the world to help them protect properties and lives from the catastrophic effects of the ocean. Some of the organizations and groups we work with include:
Construction sites
Construction sites require dry ground for structural or excavation work. Flooding can lead to serious setbacks with these projects along coastal areas. TrapBag barriers can protect coastal construction sites from coastal floods to save crews and stakeholders time and money.
Learn More »Municipalities
Before hurricanes and expected flooding, municipalities can use TrapBag for seawall development. Doing so can protect coastal residences and businesses from storm surges and the negative effects of coastal flooding and erosion.
Learn More »Civil & coastal engineers
Seawalls can protect coastal highways and residences from erosion damage. In turn, they can be a life- and property-saving tool during periods of high water levels, coastal floods, and catastrophic storms.
Learn More »Environmental protection
Environmental protection agencies at all levels use TrapBag as a prime seawall material to protect coastal habitats from destruction through wave action. In turn, they can keep these natural habitats safe from hurricanes and storms.
Learn More »Projects


Types of Seawalls & How TrapBag Compares:
Concrete is a popular choice for long-term or permanent seawalls, especially because it can withstand harsh, corrosive conditions. However, creating a concrete seawall is challenging and expensive, and the walls are still at risk of failure, especially if they aren’t properly maintained. They also aren’t ideal for solving short-term issues ahead of things like hurricanes or other storms.
Fortunately, concrete can be used as a filler material for TrapBag. Because of this, you can use TrapBag to get the same level of strength that concrete provides with a lower risk of failure.
Concrete seawalls are widely recognized for their durability and ability to resist harsh marine environments, but traditional construction is labor intensive, costly, and often slow to deploy. TrapBag’s approach leverages this proven material by using concrete as a fill within its engineered barrier system, enabling coastal protection solutions that achieve the strength of a traditional concrete seawall with greater efficiency and reduced risk of structural failure. By integrating concrete into the modular TrapBag design, engineers can build shoreline defenses that combine the compressive strength of concrete with the rapid deployability and resilience of geotextile barriers, offering a pragmatic alternative for long-term coastal defense and erosion control

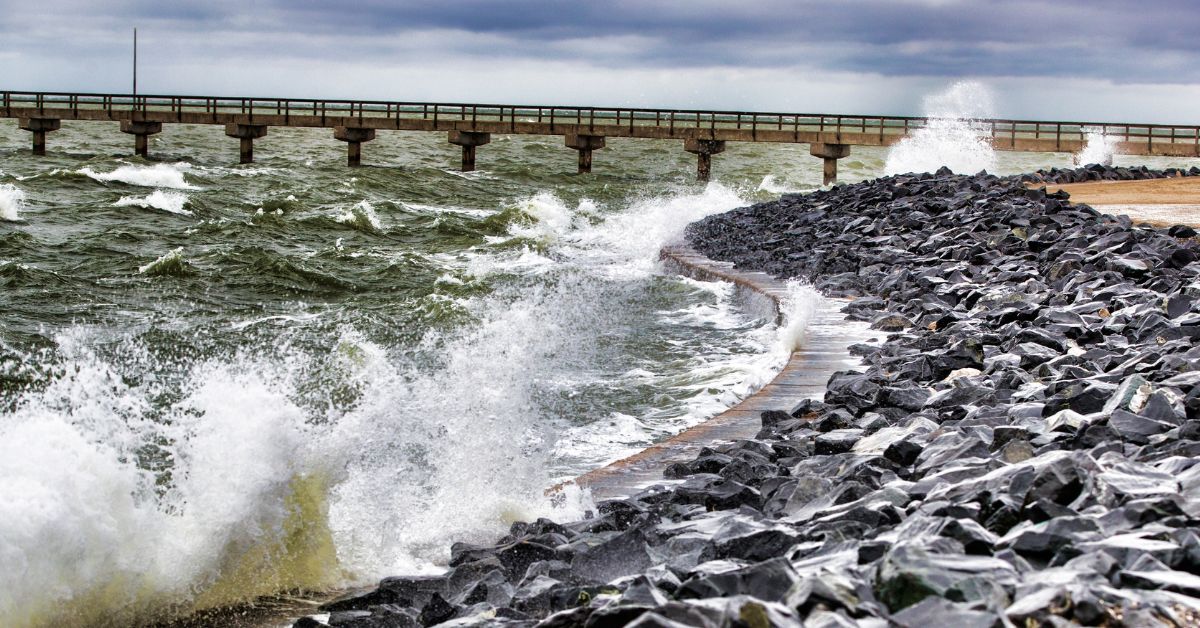
Functioning similarly to rip rap, natural stone seawalls use large natural stones and boulders to protect shorelines from erosion. Since stone takes more than a lifetime to erode from wave action, it’s an excellent choice as a seawall material.
However, natural stone can be prohibitively expensive to install. It can cost thousands of dollars for just a few yards, excluding the price of transport and labor. If you need to protect your shoreline in the short term or on a budget, TrapBag can serve as a cost-effective seawall solution.
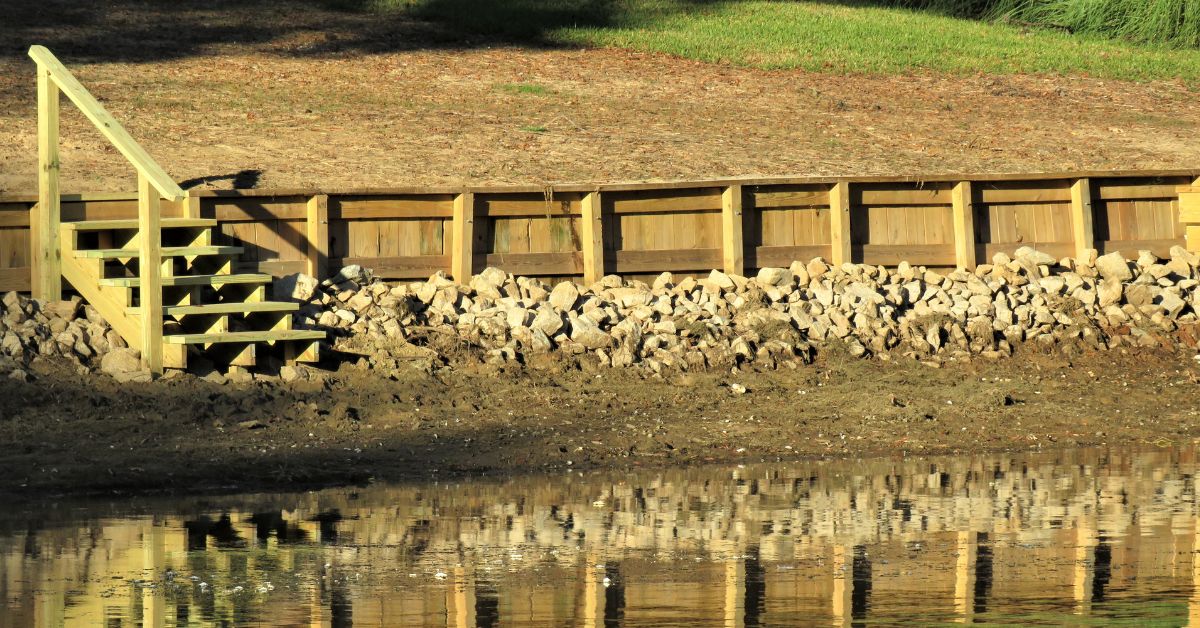
Wood seawalls and bulkheads can be a great solution for preventing erosion along freshwater channels and rivers.
However, using wood isn’t typically conducive to the seawall construction process. This is especially true for seawalls constructed along saltwater bodies like the ocean or inland seas, where the salinity of the water can cause the wood to deteriorate relatively quickly, especially with high waves. By contrast, TrapBag can last for years as a seawall or bulkhead for both fresh and saltwater bodies.
Why Choose TrapBag as a Seawall Construction Method?
TrapBag is similar to, but improves upon, the traditional design of sandbags. We engineered these erosion control barriers with a pentagonal shape to ensure their structural integrity. The barrier is sloped on one side and upright on the other for additional structural stability, so they can withstand wave action with ease. They give you the option of creating a temporary or permanent seawall depending on the type of fill material that you choose to use. Plus, unlike traditional sandbags or concrete seawalls, TrapBag barriers have much lower margins of error—the barrier is less likely to give way than less innovative alternatives.
Even more, our staff is here to ensure our clients successfully protect their property from erosion control. We’re here to help 24/7, across multiple countries and continents.